
Introduction
Uneven floors aren’t just an eyesore—they can be a real problem. From wobbly furniture to flooring installation issues and even trip hazards, an unlevel surface can disrupt both function and design in your home or commercial space.
Fortunately, you don’t need to rip out your old floor or hire an expensive contractor to fix the problem. Enter self-leveling cement: an accessible, DIY-friendly solution that can transform a bumpy, sloping, or pitted floor into a smooth, even surface in just a few hours.
Whether you’re preparing for new tile, vinyl, hardwood, or simply want a better-looking floor, this guide will show you how self-leveling cement makes the process fast, effective, and surprisingly easy—even for beginners.
1. What Is Self-Leveling Cement?
Self-leveling cement (or self-leveling compound) is a polymer-modified cement mixture that’s designed to flow and spread out evenly across a surface, settling into low spots and forming a smooth, level base.
🧪 Key Features:
- Flows like liquid but hardens like concrete
- Levels itself without the need for troweling
- Bonds to existing concrete or substrate
- Quick-drying — some formulations cure in 1-4 hours
It’s commonly used as an underlayment before installing finished flooring (like tile, laminate, or vinyl) but is also suitable as a standalone surface for garages, workshops, or utility areas.
2. Signs You Need to Level Your Floor
Before applying any product, you’ll want to determine whether your floor needs leveling. While slight imperfections are normal, certain issues can indicate the need for self-leveling cement.
⚠️ Common Indicators:
- Floors slope to one side or have visible dips
- Cracks, pits, or surface irregularities in the concrete
- Gaps beneath baseboards or cabinets
- Difficulty installing flooring evenly
- Furniture that wobbles or doesn’t sit flush
Tip: Use a 4-foot level or laser level to check for flatness. Any variation over 1/8 inch within a 6-foot span may warrant leveling, especially for materials like vinyl or hardwood.
3. Tools and Materials You’ll Need
Before beginning the process, gather your materials. A successful application depends on preparation and timing, so having everything ready is key.
🧰 Basic Tools and Supplies:
- Self-leveling cement (pre-mixed or powder)
- Mixing bucket or drill with paddle attachment
- Trowel or smoother
- Floor primer (important for bonding)
- Measuring cup or scale (for water ratio)
- Spiked roller (optional, helps release air bubbles)
- Painter’s tape and foam tape (to block edges)
- Safety gear: gloves, goggles, dust mask
Choose a reputable brand like Mapei, Sika, or Ardex, depending on availability in your area.
4. Step-by-Step Guide to Applying Self-Leveling Cement
🔧 Step 1: Clean and Prep the Surface
Remove all dirt, grease, dust, and debris from the floor. Patch any large holes or cracks with repair mortar. The cleaner the surface, the better the bond.
Important: Ensure the subfloor is structurally sound and dry. Moisture can cause failure of the leveling layer.
🔧 Step 2: Apply Primer
Apply a bonding primer using a roller or brush. Let it dry for the recommended time (usually 1–3 hours). This step ensures the self-leveling compound adheres properly to the floor.
Skipping primer is the #1 cause of self-leveling failure.
🔧 Step 3: Mix the Self-Leveling Cement
Follow the manufacturer’s instructions carefully. Use a drill with a paddle mixer to combine the powder and water until you achieve a smooth, lump-free consistency.
Tip: Only mix what you can pour within 10–20 minutes. The compound begins setting fast.
🔧 Step 4: Pour and Spread
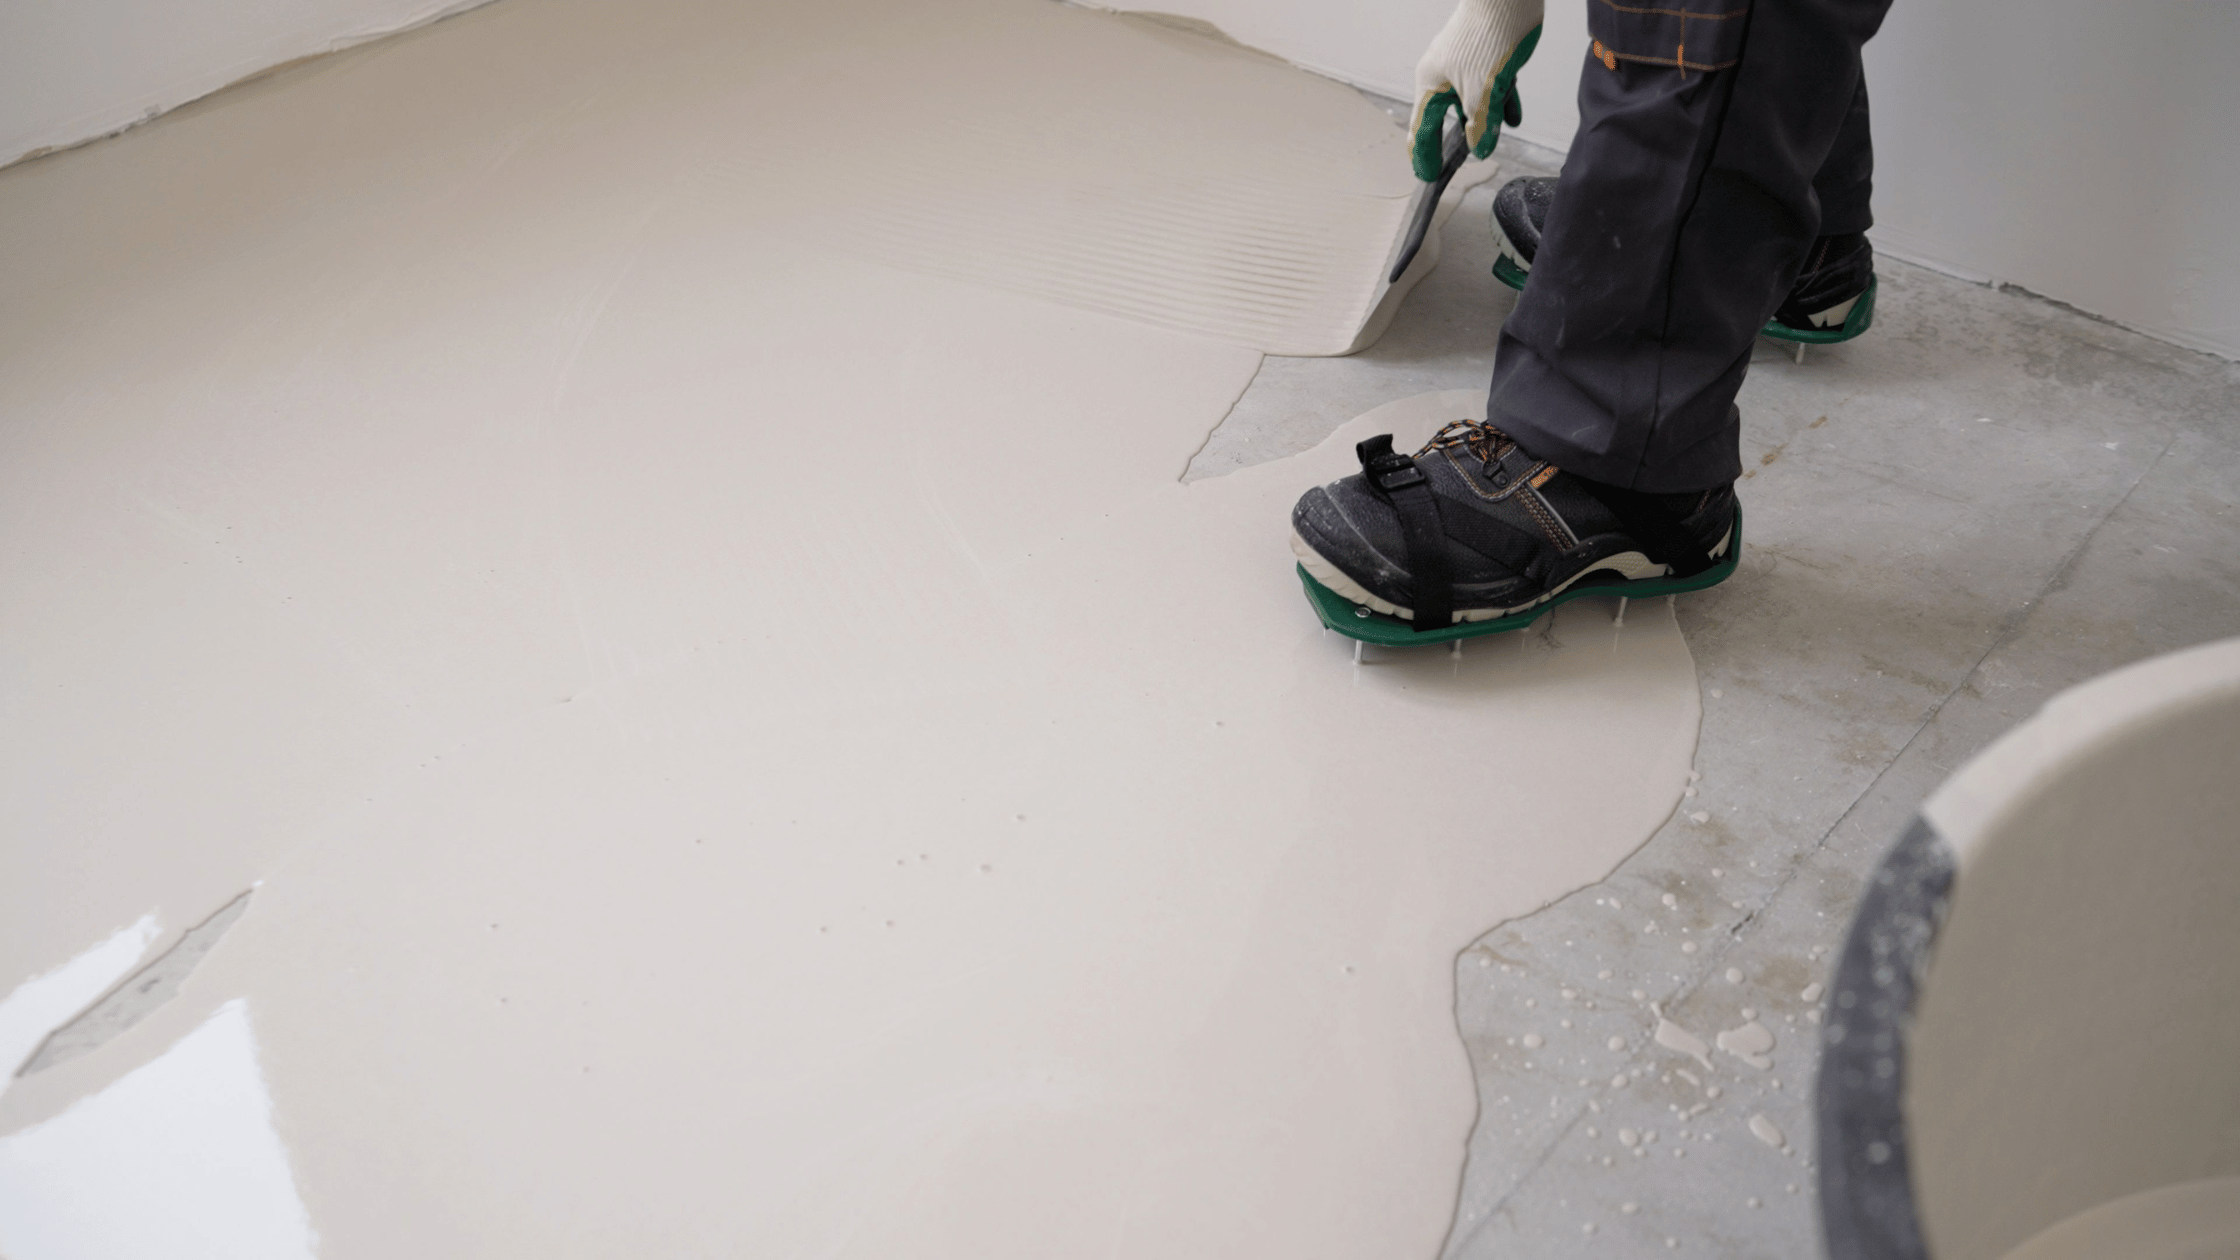
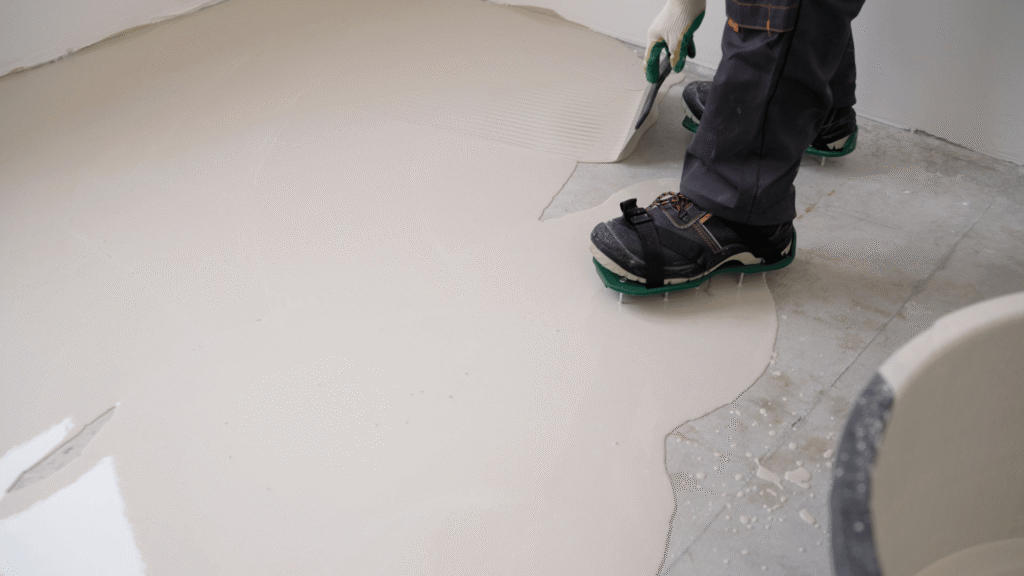
Pour the mix onto the floor starting in the lowest area. It will naturally flow into dips and hollows. Use a smoother or gauge rake to help distribute the product, especially in larger areas.
If needed, use a spiked roller to remove trapped air bubbles.
🔧 Step 5: Let It Cure
Allow the cement to cure for the time recommended on the product label—typically 4–24 hours. Avoid walking on or disturbing the surface during this time.
After curing, you’ll be left with a smooth, level surface ready for your flooring installation.
5. Tips for Best Results
Self-leveling cement is designed to be user-friendly, but a few tips can ensure success, especially on your first try.
✅ Pro Tips:
- Work quickly and efficiently—once mixed, the compound sets fast
- Use expansion foam or caulk around walls to prevent overflow
- Maintain proper room temperature (usually 10°C–30°C or 50°F–86°F)
- For large rooms, mix and pour in sections, working with a helper
If unsure, test a small area first before tackling the entire floor.
6. Can You Use Self-Leveling Cement on Wood Floors?
Yes—but with some preparation. You’ll need to:
- Secure the subfloor to eliminate movement
- Install a lath mesh or reinforcing layer for added strength
- Use a primer formulated for wood substrates
It’s ideal to consult with a flooring expert or product manufacturer when applying self-leveling cement over plywood, OSB, or particleboard.
7. When to Call a Professional
While self-leveling cement is beginner-friendly, certain conditions may require professional help:
- Sloped foundations or structural issues
- Areas larger than 500 square feet
- Multi-layer leveling or floor heating systems
If the floor shows signs of subsidence or structural movement, consult a contractor or structural engineer before proceeding.
Conclusion
Uneven floors don’t have to mean expensive repairs or disruptive renovations. Self-leveling cement offers a fast, effective, and cost-efficient solution that even beginners can use with confidence.
By preparing properly, using the right materials, and following a few key steps, you can transform an uneven surface into a smooth, level base ready for any type of flooring. Whether you’re upgrading your home, renovating a rental property, or fixing up a workspace, self-leveling cement is your go-to solution for floor perfection.
So grab your tools, roll up your sleeves, and let your next flooring project start with a level foundation—literally.